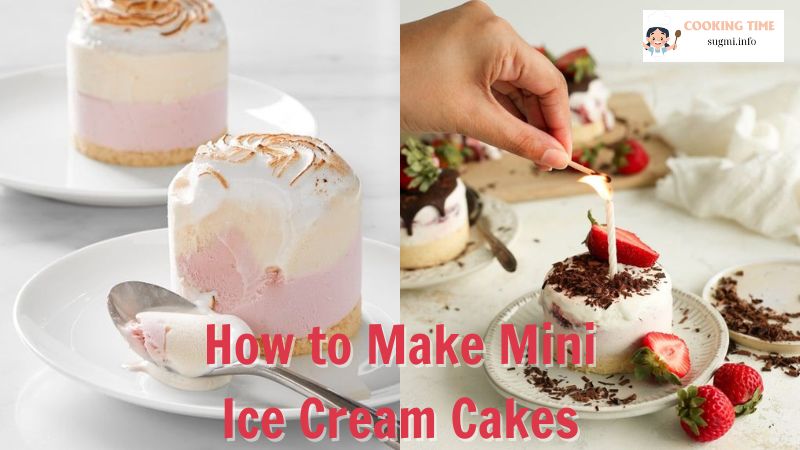
Making mini ice cream cakes at home is not only fun but also an impressive way to treat your family and friends. These bite-sized desserts are perfect for parties, celebrations, or just a sweet indulgence on a hot day. In this detailed guide, Sugmi.info will walk you through the process step-by-step, ensuring you know exactly how to make mini ice cream cakes that will delight everyone. Let’s dive into the delicious world of mini ice cream cakes!
Table of Contents
ToggleIngredients:
To make mini ice cream cakes, you will need the following ingredients:

- Crust:
- 1 ½ cups crushed cookies (e.g., Oreos, graham crackers, or chocolate chip cookies)
- ¼ cup melted butter
- Ice Cream:
- 1-2 pints of your favorite ice cream (softened)
- Filling/Layer Options:
- Chocolate chips, crushed candy, caramel sauce, fruit preserves, etc.
- Topping:
- Whipped cream, sprinkles, chocolate sauce, fresh fruit, etc.
Equipment:
Before you start, gather these tools to ensure a smooth process:

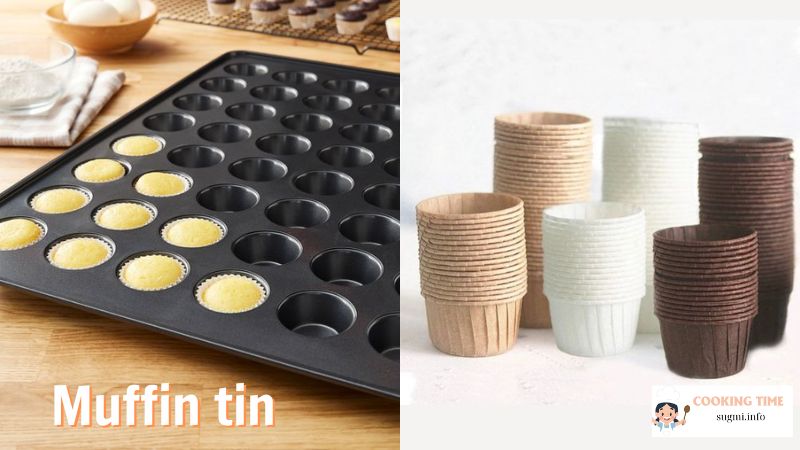
- Muffin tin or mini springform pans
- Cupcake liners (if using a muffin tin)
- Mixing bowls
- Spatula
- Spoon
Step-by-Step Instructions on How to Make Mini Ice Cream Cakes
1. Prepare the Crust:
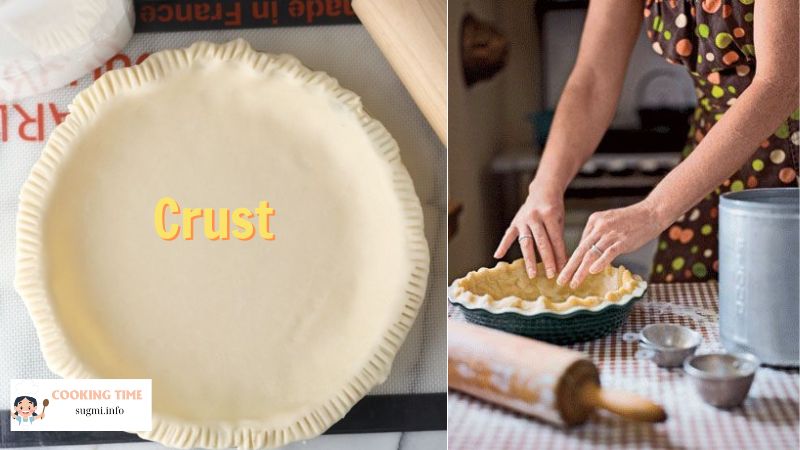
The first step in learning how to make mini ice cream cakes is to prepare the crust. The crust forms the base of your mini cakes and provides a deliciously crunchy contrast to the creamy ice cream.
-
- Crushing the Cookies:
- Place the cookies in a food processor and pulse until finely ground. If you don’t have a food processor, you can put the cookies in a zip-top bag and crush them with a rolling pin.
- Mixing with Butter:
- Transfer the crushed cookies to a mixing bowl and add the melted butter. Mix until the crumbs are evenly coated and have the texture of wet sand.
- Forming the Crust:
- Line your muffin tin with cupcake liners or lightly grease the mini springform pans. Spoon about 1-2 tablespoons of the cookie mixture into each liner or pan, pressing it down firmly with the back of a spoon to form a compact crust.
- Setting the Crust:
- Place the muffin tin or pans in the freezer for about 10 minutes to let the crust set. This step is crucial in the process of how to make mini ice cream cakes, as it ensures a solid base that won’t crumble when you add the ice cream.
- Crushing the Cookies:
2. Add the Ice Cream Layer:

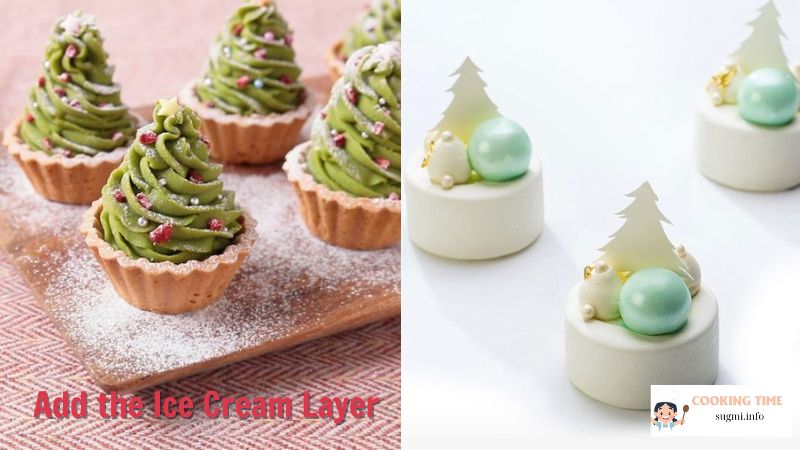
Now that your crust is set, it’s time to add the star ingredient – the ice cream. The key to knowing how to make mini ice cream cakes that are creamy and smooth is to work quickly while the ice cream is still soft.
-
- Spoon the Ice Cream:
- Remove the muffin tin or pans from the freezer. Spoon a layer of softened ice cream over the crust. You can fill it halfway if you plan to add a filling, or fill it to the top if you prefer a single layer of ice cream.
- Adding Fillings (Optional):
- If you want to include a filling, now is the time. You can add chocolate chips, crushed candy, caramel sauce, or fruit preserves. Spread the filling evenly over the first layer of ice cream, then add another layer of ice cream to cover the filling completely.
- Spoon the Ice Cream:
3. Freeze the Cakes:
Once you have layered your ice cream and fillings, the next step in how to make mini ice cream cakes is to freeze them until firm.
-
- Smooth the Top:
- Use a spatula to smooth the top of each mini ice cream cake. This will give them a professional look and make them easier to decorate later.
- Freezing:
- Place the mini cakes back in the freezer for at least 2 hours, or until they are completely firm. This ensures that the ice cream is fully set and the cakes will hold their shape when you remove them from the pans.
- Smooth the Top:
4. Decorate:
Decorating is a fun and creative part of learning how to make mini ice cream cakes. You can customize the toppings to suit your taste or the occasion.
-
- Removing from Pans:
- Once the cakes are fully frozen, take them out of the freezer. If you used cupcake liners, gently peel them off. If you used mini springform pans, carefully remove the outer ring.
- Add Toppings:
- Top your mini ice cream cakes with whipped cream, sprinkles, chocolate sauce, fresh fruit, or any other decorations you like. This step is where you can let your creativity shine.
- Removing from Pans:
5. Serve:
Finally, the moment you’ve been waiting for – serving your mini ice cream cakes. Understanding how to make mini ice cream cakes means knowing the best way to serve them.
-
- Softening:
- Let the mini ice cream cakes sit at room temperature for a few minutes to soften slightly. This makes them easier to eat and brings out the flavors.
- Presentation:
- Arrange the mini cakes on a serving platter. You can add extra toppings or decorations on the platter for an added touch.
- Softening:
Tips and Tricks for Perfect Mini Ice Cream Cakes
- Flavor Combinations: Experiment with different flavor combinations to find your favorites. For example, use mint chocolate chip ice cream with a chocolate cookie crust or strawberry ice cream with a graham cracker crust.
- Layering: Try layering different flavors of ice cream for a striped effect. This adds visual interest and a variety of flavors in each bite.
- Storage: Store your mini ice cream cakes in an airtight container in the freezer. They can be kept for up to a week, making them a great make-ahead dessert option.
- Working Quickly: When learning how to make mini ice cream cakes, remember to work quickly with the ice cream to prevent it from melting too much.
- Customizing: Personalize your mini ice cream cakes for different occasions by changing the crust, ice cream flavors, and toppings. They can be adapted for birthdays, holidays, or any special event.
Conclusion
Now that you know how to make mini ice cream cakes, you can create delightful, personalized desserts for any occasion. These mini treats are not only delicious but also offer endless possibilities for customization. Whether you’re making them for a party, a special celebration, or just as a sweet treat for yourself, mini ice cream cakes are sure to impress.
The process of how to make mini ice cream cakes is straightforward and fun. From preparing the crust to adding the ice cream and decorating, each step allows for creativity and personal touches. So gather your ingredients, follow this detailed guide, and enjoy the delightful experience of making and eating your very own mini ice cream cakes!

